Create a Document
First, create a new document by clicking “File”, then “New…”. You will see the following dialog window.
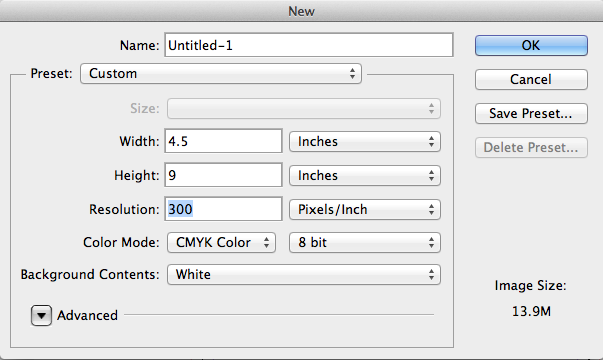
Set the size of your finished piece plus the size of the bleed. For example if the is finished size is 3.75″ x 8.75″, the document size will be 4″ x 9″. This increase in size is to allow for .125″ (1/8″) bleed.
Then, set the resolution to “300 Pixels/Inch”, color mode to “CMYK” and background contents to “White.
Then click “OK”.
Note: If you are creating a multiple page document or if you project prints more than one side, you will need to create a document for each page/side.
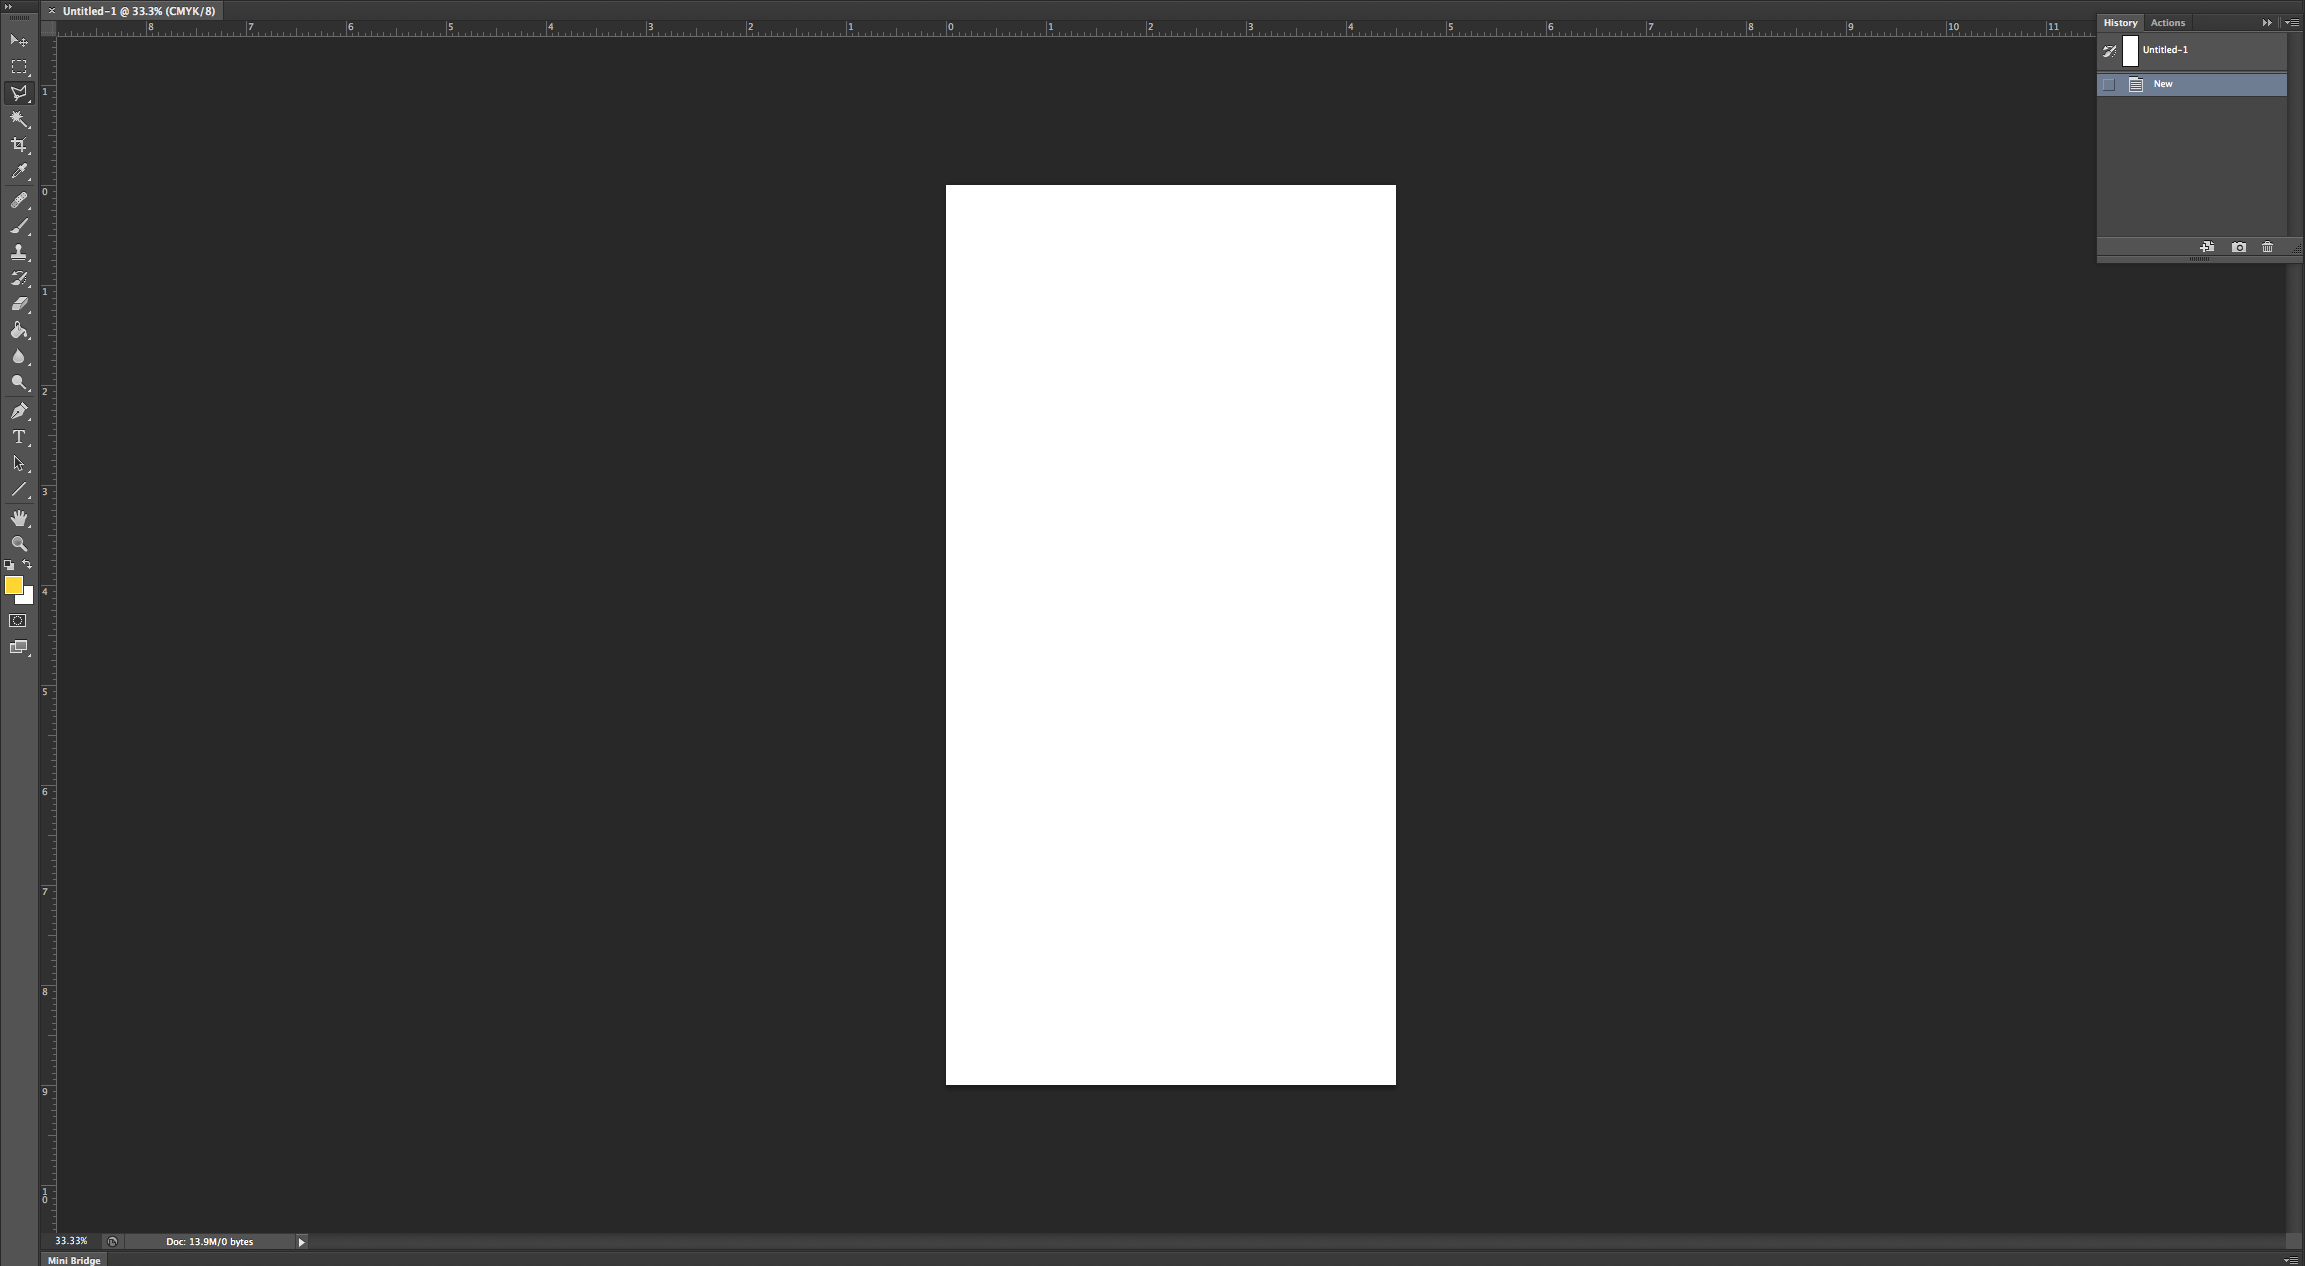
Here is an example of a print job using the above set up guide.
Margins & Trimming Guides
Since the document is sized to the bleed size, we will need to draw guide lines for the trim size and the print margin. To do this, click on “View”, then “New Guide…”. You should see the following dialog.
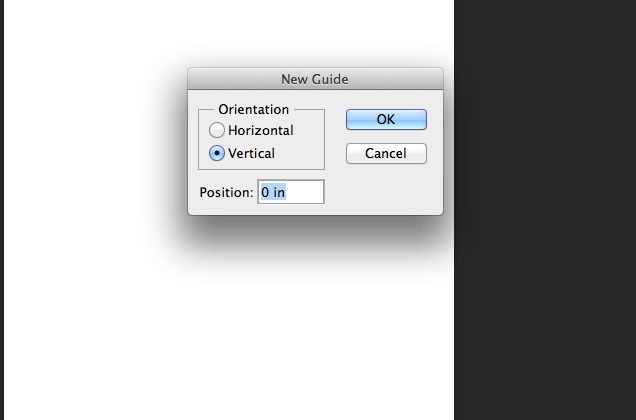
Create the trim guides by placing a guide .125″ from each corner.
Select the “Vertical” radio button, then Input .125″ into the dialog box and click “Okay”.
Click on “View”, then “New Guide…”.
Select the “Horizontal” radio button, then Input .125″ into the dialog box and click “Okay”.
Click on “View”, then “New Guide…”.
Select the “Vertical” radio button, then Input the document width minus .125″ into the dialog box and click “Okay”. (For example, a 4″ document would need a guide at 3.875″)
Click on “View”, then “New Guide…”.
Select the “Horizontal” radio button, then Input the document height minus .125″ into the dialog box and click “Okay”. (For example, a 9″ document would need a guide at 8.875″)
Now, create the margin guides by placing a guide .25″ from each corner.
Click on “View”, then “New Guide…”.
Select the “Vertical” radio button, then Input .25″ into the dialog box and click “Okay”.
Click on “View”, then “New Guide…”.
Select the “Horizontal” radio button, then Input .25″ into the dialog box and click “Okay”.
Click on “View”, then “New Guide…”.
Select the “Vertical” radio button, then Input the document width minus .25″ into the dialog box and click “Okay”. (For example, a 4″ document would need a guide at 3.75″)
Click on “View”, then “New Guide…”.
Select the “Horizontal” radio button, then Input the document height minus .25″ into the dialog box and click “Okay”. (For example, a 9″ document would need a guide at 8.75″)
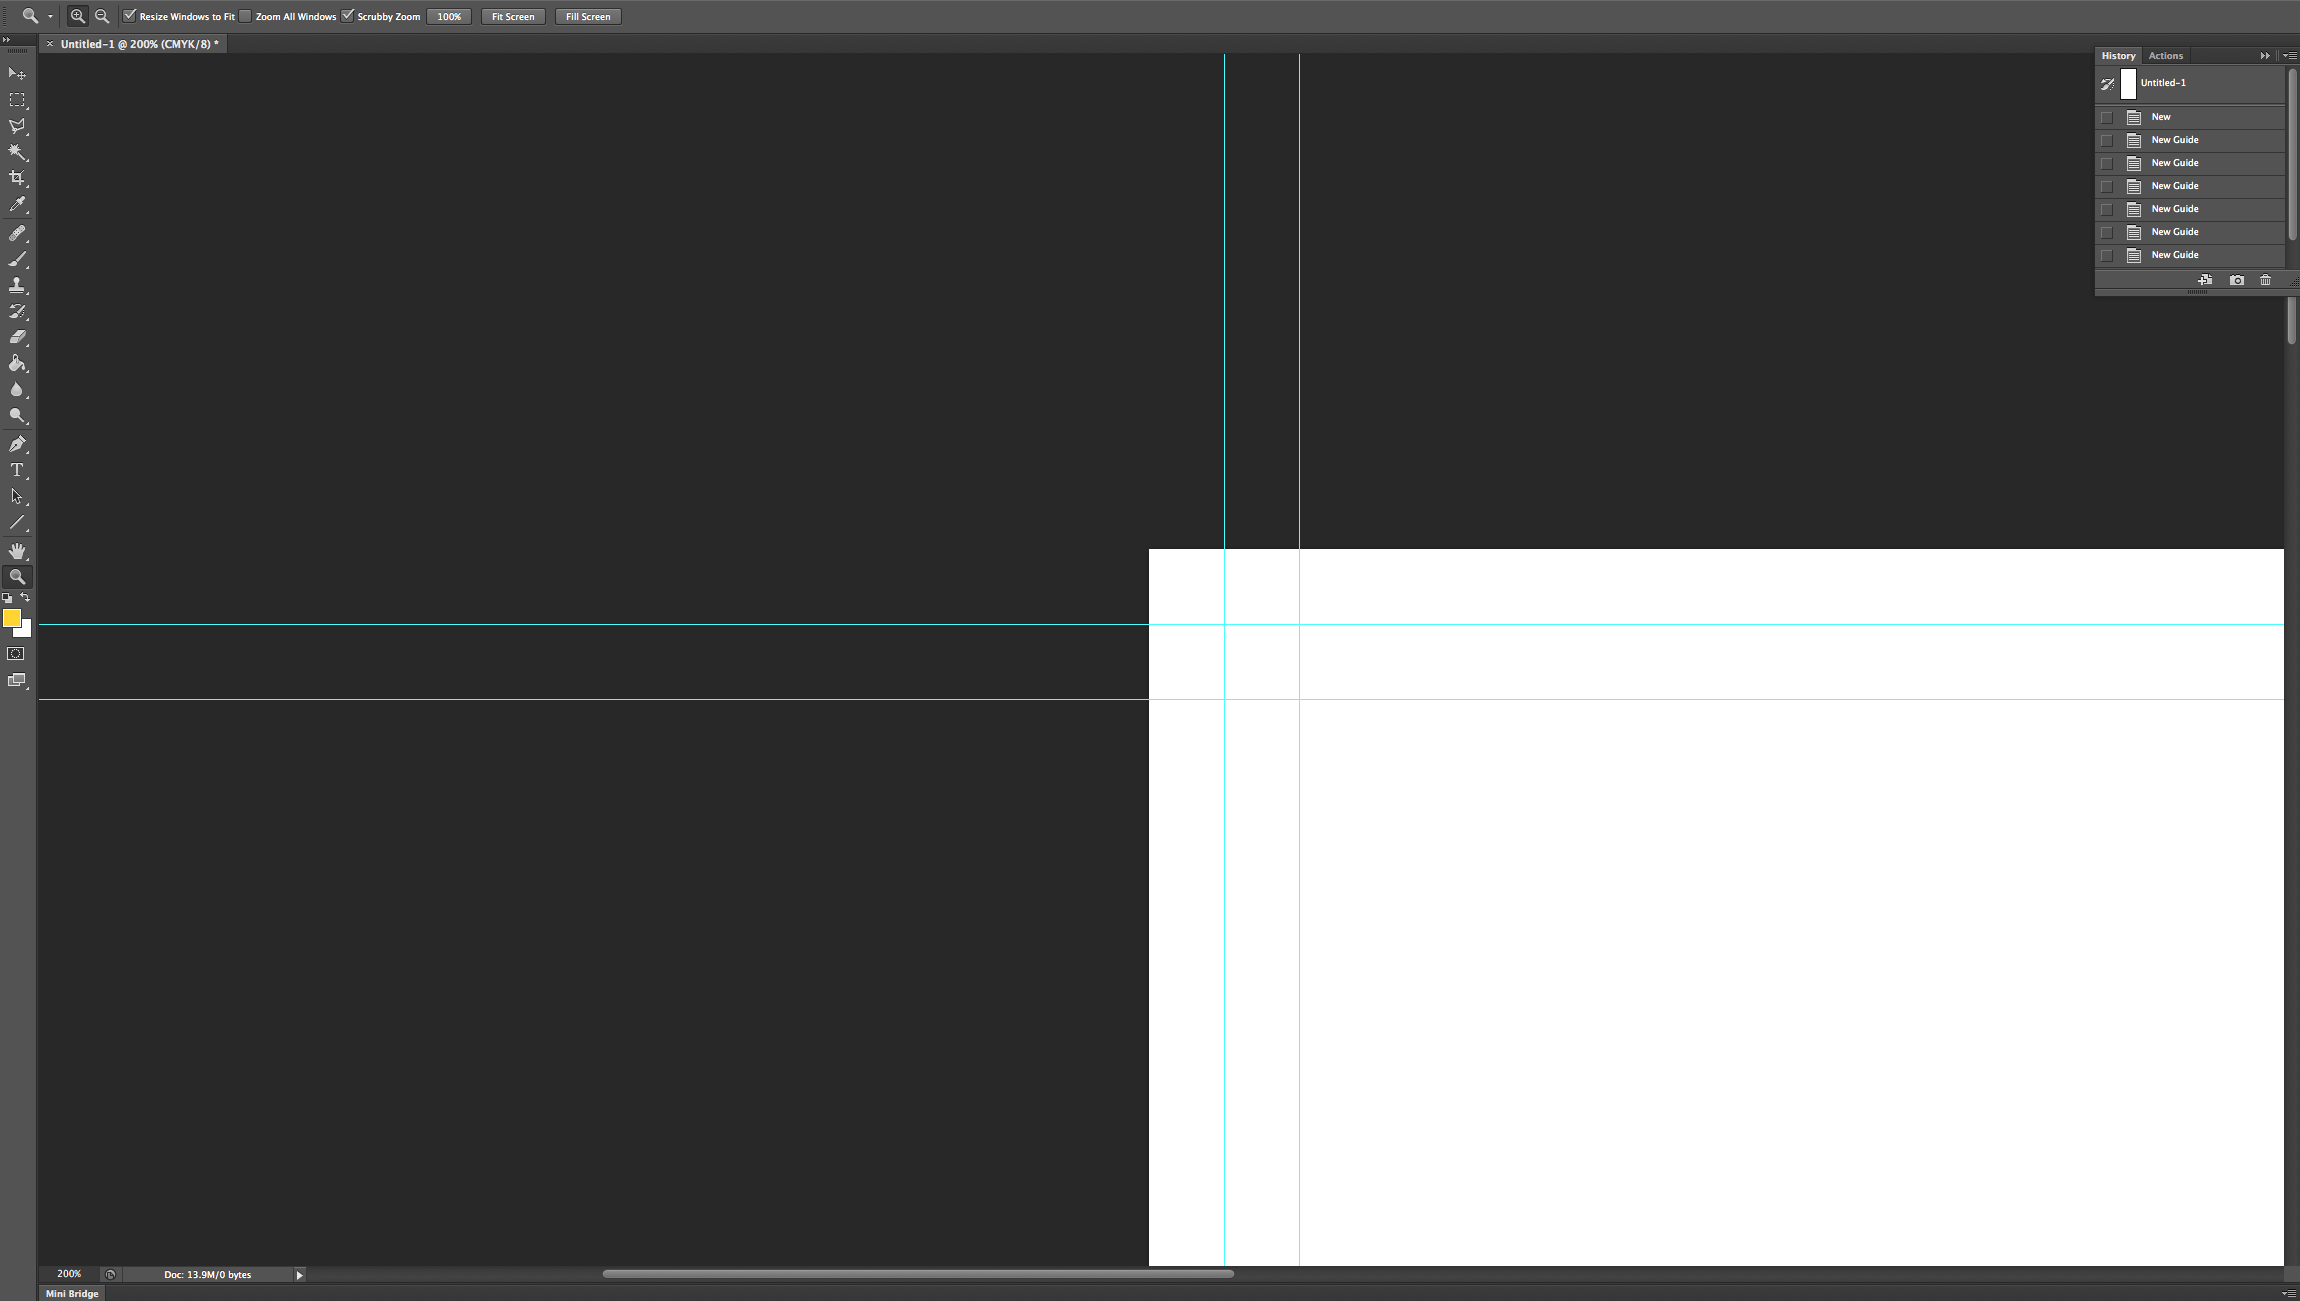
Your finished document, with guides, should look something like this.

Here is a magnified view of one corner.
Click Here to learn more about Bleed & Margin.
Design Your Artwork
Click Here to view our file requirements for your design. If you need assistance creating the design, we offer design services for a reasonable fee. Please contact us for more information.
If you would like to create the design yourself, there are tons of resources on the web to learn how to design your artwork. Here are a few resources that you may find helpful…
Place Your Die Line
If your document doesn’t just square cut, you need to create a die line to represent the actual die cut. You can do this by accurately drawing the shape of your die cut on a new layer. When submitting your artwork, please hide that layer before saving your PDF. In addition to submitting an artwork PDF, you will also need to submit a die line PDF. To do this, just hide all other layers, but your die line layer and save the file as “Die.pdf”.
If you need help creating your die line, please contact us for assistance.
Review Our File Requirements
Click Here to view our current file requirements.
Generate Your PDF for Submission
Click Here to download our Creative Suite settings and/or get the info to set your PDF up manually.